Automating your Pi-hole with Home Assistant
Home Assistant is an open-source home automation platform. It is able to track and control all devices at home and offer a platform for automating control. This guide will show you some examples how to integrate Pi-hole's API with Home Assistant. Feel free to adapt the examples to your needs.
Prerequisites
- A running Home Assistant instance
- Pi-hole installed and running
Example 1: Use a boolean switch to enable/disable Pi-hole blocking
- Add to your
secrets.yaml:pi_hole_password: "your_pihole_password" pi_hole_api_url: "http://192.168.1.2/api" - Add to your
configuration.yaml:rest_command: pihole_login: url: '{{ api_url }}/auth' method: POST payload: '{ "password" : "{{ password }}" }' content_type: 'application/json; charset=utf-8' verify_ssl: false pihole_logout: url: '{{ api_url }}/auth' method: DELETE verify_ssl: false headers: sid: "{{ sid }}" pihole_set_blocking: url: '{{ api_url }}/dns/blocking' method: POST payload: '{ "blocking" : {{ blocking }}, "timer" : {{ timer }} }' content_type: 'application/json; charset=utf-8' verify_ssl: false headers: sid: "{{ sid }}" input_boolean: pihole_blocking: name: Pi-Hole Blocking initial: on icon: mdi:block-helper - Add to your
scripts.yaml:pi_hole_disable: sequence: - action: rest_command.pihole_login data: api_url: !secret pi_hole_api_url password: !secret pi_hole_password response_variable: response - condition: template value_template: "{{ response['status'] == 200 }}" - variables: sid: "{{ response['content']['session']['sid'] }}" - action: rest_command.pihole_set_blocking data: api_url: !secret pi_hole_api_url sid: "{{ sid }}" blocking: "false" timer: "300" # can be "null" for permanent - action: rest_command.pihole_logout data: api_url: !secret pi_hole_api_url sid: "{{ sid }}" pi_hole_enable: sequence: - action: rest_command.pihole_login data: password: !secret pi_hole_password api_url: !secret pi_hole_api_url response_variable: response - condition: template value_template: "{{ response['status'] == 200 }}" - variables: sid: "{{ response['content']['session']['sid'] }}" - action: rest_command.pihole_set_blocking data: api_url: !secret pi_hole_api_url sid: "{{ sid }}" blocking: "true" timer: "null" - action: rest_command.pihole_logout data: api_url: !secret pi_hole_api_url sid: "{{ sid }}" - Add to your
automations.yaml:- id: '1734339971405' alias: Disable Pi-hole Blocking description: '' triggers: - trigger: event event_type: pi_hole_disable - entity_id: input_boolean.pihole_blocking to: 'off' trigger: state conditions: [] actions: - action: script.pi_hole_disable data: {} mode: single - id: '1734339971406' alias: Enable Pi-hole Blocking description: '' triggers: - trigger: event event_type: pi_hole_enable - entity_id: input_boolean.pihole_blocking to: 'off' trigger: state conditions: [] actions: - action: script.pi_hole_enable data: {} mode: single
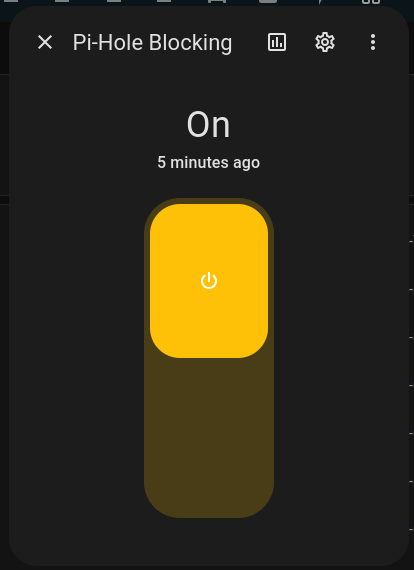
You can use the created input_boolean.pihole_blocking to enable or disable Pi-hole blocking

The pi_hole_disable script will disable Pi-hole blocking for 5 minutes, while the pi_hole_enable script will enable Pi-hole blocking permanently. We created two automations to trigger the scripts based on the state of the input_boolean.pihole_blocking, e.g., when the boolean is turned off, the pi_hole_disable script will be triggered:

This automation may be enriched with additional triggers, e.g., automatically disable Pi-hole blocking when changing the color of a specific light to red and re-enable it when the light is turned back to green. You can also add a notification to inform you about the change.
Note that this example does not check the status of Pi-hole before enabling or disabling blocking, i.e., in the mentioned example of a lamp changing color, the lamp will not change its color if Pi-hole's blocking state is changed elsewhere, e.g., from the web interface or the CLI.